The Handstand Progression: From Wall-Terrified to Balanced, Step by Step
Quick Answer: Handstands are a progression, not a talent — build shoulder/wrist mobility and hollow-body core strength first, master wall walks and a safe bail-out before attempting freestanding, then steal balance seconds off the wall. It’s a months-long skill, not a weekend one, and daily short sessions beat weekly long ones.
The handstand is calisthenics’ great intimidator — the move that looks like it requires being upside-down-brave and gymnast-strong from day one. It doesn’t. It requires a progression, and a genuinely patient one at that. Here’s the roadmap: what to build first, the fear-managing wall work, and the balance drills that eventually get you to freestanding.
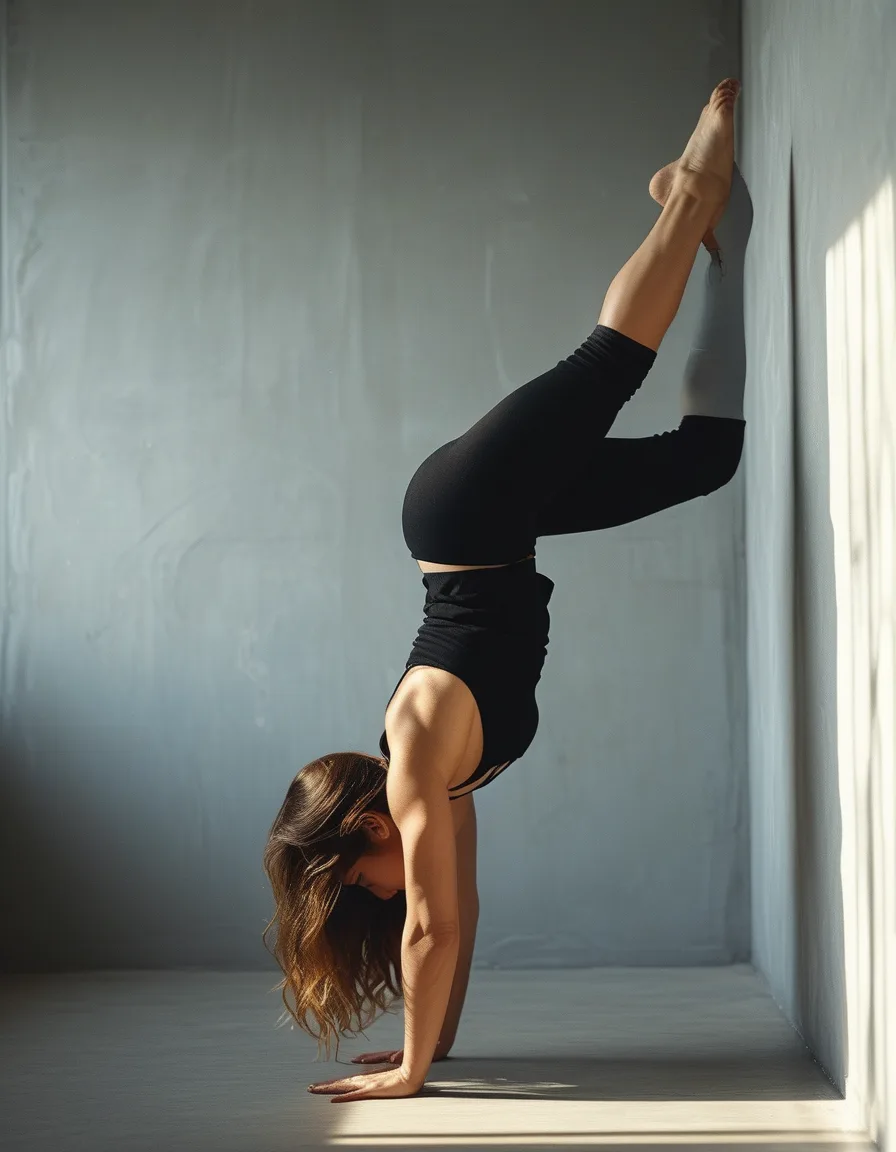
What Do You Need to Build Before You Even Attempt a Handstand?
Five things, in roughly this order of priority:
Shoulder and wrist prep. Overhead mobility and wrist strength-and-flexibility are non-negotiable — handstands demand both, and skipping this step is the fastest route to a wrist injury. Treat it as your injury-prevention foundation, not an optional warm-up.
Core and line strength. The hollow-body hold, done on the floor, teaches the exact straight-line shape a good handstand needs. This is the pre-handstand drill most people skip because it “isn’t the real thing” — it absolutely is the real thing, just without the falling-over risk.
Shoulder strength. Pike push-ups and wall walks build the actual pressing capacity that holds you up once you’re inverted. This is the strength component that separates “can kick up” from “can actually hold it.”
Fear acknowledgment. Being upside-down is genuinely uncomfortable for most people, and naming that discomfort instead of pretending it isn’t there matters. Fear here gets managed by progression, not bravado — go at your own pace, full stop.
Realistic patience. A handstand is a months-project, not a weekend one. Setting that expectation up front is what prevents the quit that happens around week three when it still feels impossible.
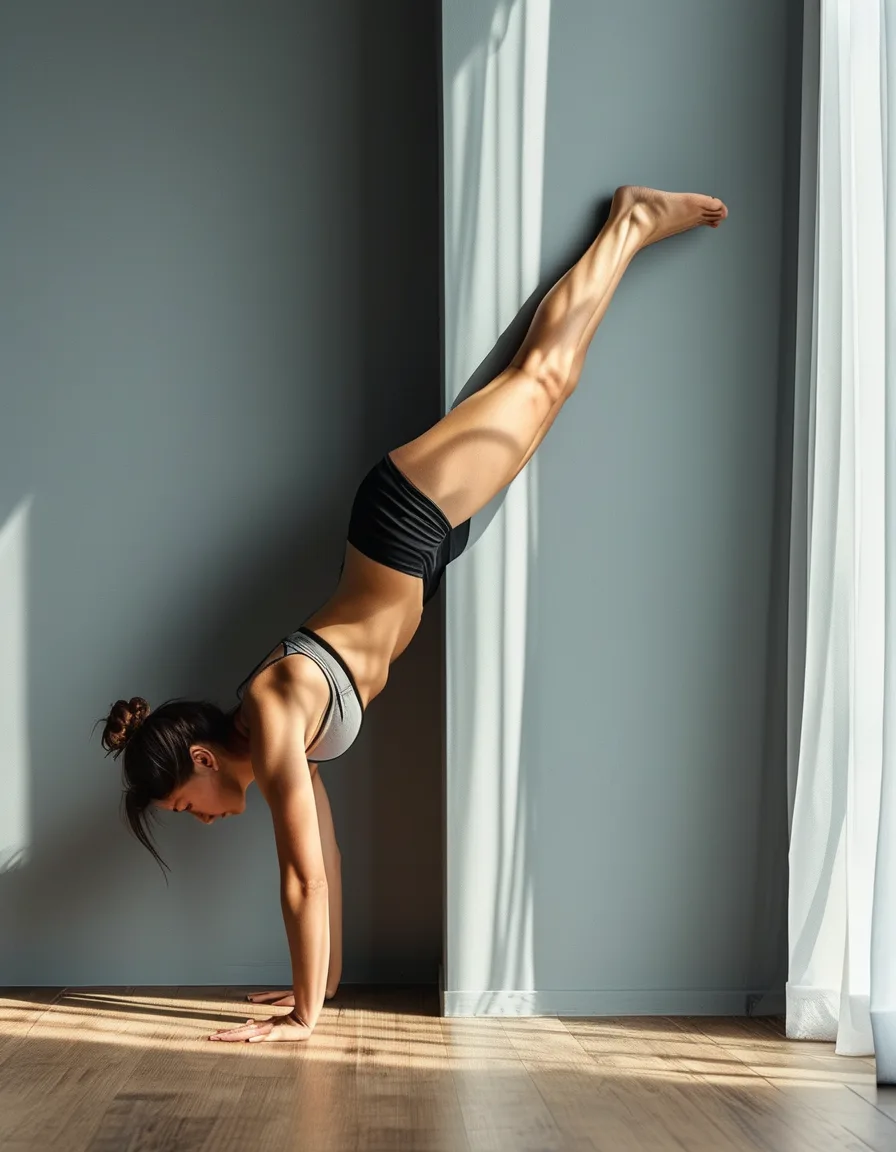
How Do You Actually Conquer Being Upside-Down Safely?
Start with wall walks. Feet walk up the wall from a plank position — the gentlest possible introduction to inversion, and a genuinely useful way to acclimate to how upside-down actually feels before you’re doing anything more committed.
Progress to chest-to-wall handstands. Facing the wall builds the straight line and real confidence, since alignment is taught with support instead of guesswork. Toes on the wall, hands close — this is where the actual handstand shape starts to click.
Add back-to-wall handstands. Kicking up to the wall lets you practice holding the position for real endurance, but learn your bail-out before you spend serious time here.
Master the bail-out drill first. A cartwheel-out or pirouette-out, practiced before any freestanding attempts, defuses most of the fear that stops people from progressing. Knowing exactly how to land safely is what unlocks the courage to actually try — this step is more important than it sounds.
Build hold duration gradually. Wall-supported time accumulated over sessions strengthens your shoulders and the position itself. Start with a ten-second goal, then build toward thirty.
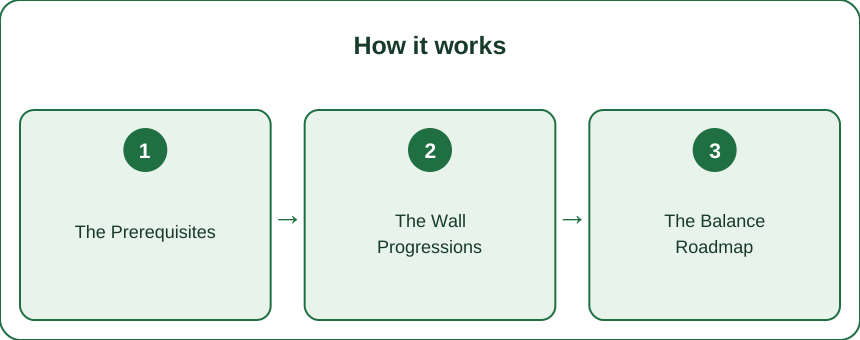
What Does the Path From Wall Support to Freestanding Actually Look Like?
Practice weight shifts first. A wall handstand with tiny pushes off the wall teaches you where your actual balance point is — this fingertip-pressure control genuinely is the handstand, more than the kicking-up part.
Try heel-pulls and toe-taps. Small micro-balances coming off the wall steal a few seconds of real freestanding time, without committing to the full thing yet.
Attempt freestanding in open space. Kick up to balance away from the wall with your bail-out ready — this is where all the accumulated wall-work finally cashes in.
Practice little and often. Short daily sessions build this skill faster than one long weekly session — the “greasing the groove” principle applies especially well here, since balance is a nervous-system skill that benefits from frequent small reps.
Expect a frustrating plateau in the middle. Progress will feel invisible for a stretch, and that’s normal, not a sign you’re doing something wrong. The breakthrough reliably follows the plateau for people who keep showing up through it.
What Nobody Tells You About Learning a Handstand
The bail-out drill is the single most underrated step in this entire progression. Most people skip straight to trying to balance and spend months white-knuckling through fear that a five-minute cartwheel-out drill would have solved. Learn how to fall safely before you learn how to balance — it sounds backwards, but it’s the fastest route through the whole process.
Mini FAQ
How long does it realistically take to learn a handstand?
Plan for months, not weeks. It’s a genuine skill progression, and consistent short daily sessions get you there faster than occasional long ones.
What should I master before attempting a freestanding handstand?
Shoulder and wrist strength, a hollow-body hold, wall walks, chest-to-wall and back-to-wall holds, and — critically — a safe bail-out technique practiced before any freestanding attempt.
Why does learning the bail-out matter so much?
Knowing exactly how to land safely removes most of the fear that stops people from progressing. It’s what unlocks the courage to actually try freestanding, not raw bravery alone.
TL;DR:
- Build shoulder/wrist mobility, hollow-body core strength, and shoulder pressing capacity first
- Progress through wall walks, chest-to-wall, and back-to-wall holds before freestanding
- Learn your bail-out drill before attempting anything freestanding
- Steal balance seconds gradually through weight shifts and micro-balances off the wall
- Practice short sessions daily; expect a plateau before the breakthrough
The handstand is a progression, not a talent — build shoulder, wrist and hollow-body strength, master wall walks and the bail-out first, then steal balance seconds off the wall. Practice little and often; it’s a months-project that rewards patience.
Keep Reading
This article is for general informational and styling purposes only. Fit, sizing, and product availability may vary.